Arduino is primarily an open-source computer hardware and software company. The Arduino community is the project and organization of users who design and use microprocessor-based development boards.
These development boards are known as Arduino modules, an open-source prototyping platform. Simplified Microcontrollers boards are available in a variety of development board packages.
The most common programming approach is to use the Arduino IDE, which uses the C programming language. This gives you access to a vast Arduino library that is continuously growing thanks to the open-source community.
How to start using Arduino
Recently a friend decided to buy the Arduino. Personally, I had actually heard some good things from afar, but when we got there, he realized he didn’t know what to do. So I decided to create this guide to show those trying to start using the Arduino microprocessor board. We will Introduce the installation, connection, and configuration of the Arduino IDE software.
You will need
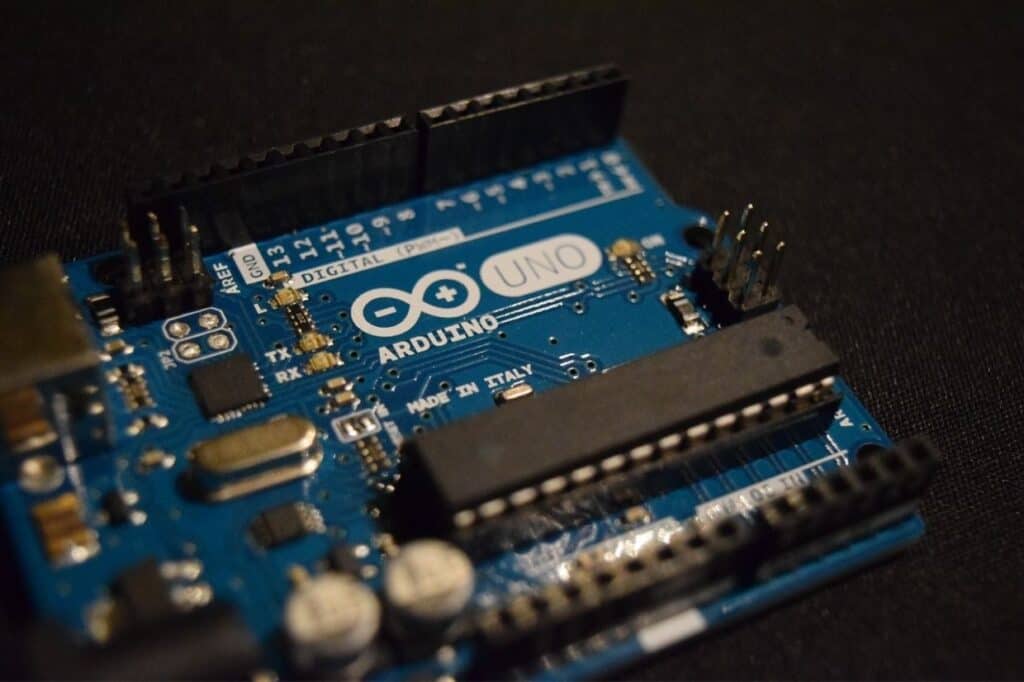
- Arduino Uno
- USB cable B.
- Windows 7, Windows 8, Windows 10, Mac or Linux operating system
- IDE Arduino
First Step: Download and install the IDE
You can download the IDE from the Arduino official website(www.arduino.com). The Arduino board uses a USB to serial converter (allowing communication with the host), so the board will work with any computer with a USB port and the requisite OS above. Of course, you first need an IDE. Fortunately, Arduino designers have released multiple IDE versions for different operating systems (such as Windows, Mac, and Linux). This tutorial uses Windows 10, so if you are not using Windows 10, please download the IDE’s correct version. After completing the download, install the IDE and make sure that most (if not all) options are enabled, including drivers.
Second Step: Obtain the Arduino COM port number
Next, you need to connect the Arduino Uno board to the computer. This is done via a USB connection. Thanks to USB’s beautiful world, the port can provide up to 2A of 5V, so you don’t need to power Arduino. When connecting Arduino, the operating system needs to recognize the board as a universal COM port (for example, my Arduino Uno uses CH340GRS-232 to USB serial converter). After identification, you need to know which port number is assigned. The easiest way is to type device manager in Windows search and select device manager when prompted.
Besides, when you navigate to the “Device Manager” window, look for the device under “Ports” (COM and LPT). The only tool on the list may be Arduino. In my device manager, the Arduino looks like COM7 (I know because the device name contains CH340). In my case, the Arduino is CH340 and it is displayed on COM7 (port 7).
Keep in mind that the Arduino is not always automatically recognized if the Arduino is not recognized. Then uninstall the driver, delete the Arduino, reinsert the Arduino, find the unrecognized device, right-click “Update Driver,” and click “Auto-Search.” This should solve 99 out of 100 problems.
Windows can magically change the number between connections, but this may actually be a problem with the COM port. That is, one day, the Arduino may be on port 7 (as shown here), but another day Windows may move it to another port number. As far as I understand it, this happens when connecting other COM ports to the system (I do this often).
So, if you can’t find the Arduino on the default port, go to the device manager to see the port actually used, and update the driver if necessary.
Third Step 3: Configure the IDE
Now that you have confirmed that you have opened the Arduino COM port, the next step is to load the Arduino IDE. After this, you can configure it to use the same device and port.
The first thing to do here is to load the IDE. After loading, go to Tools>Board>Arduino Uno. However, if you use another board (not Arduino Uno), you need to select the correct version.
Similarly, you have to show the IDE which COM port the Arduino is on. To do this, go to “Tools”> “Ports”> “COM7”. Of course, if the Arduino is on another port, please select that port.
If the Arduino is on another port, please select that port.
Fourth Step: Upload a basic example
At this point, you have to run a test using a simple example, like flashing LED lights. To check and compile the code, press the check button in the upper left window. Click the OK button to compile the Arduino code. Confirm button to enter the Arduino code. That’s it. Now you have the board configured. If the compilation phase is successful, you are ready to go.
What are some of the uses of the Arduino code?
- Arduino programming using popular languages like Python and C.
- Sensing light and heating components.
- GPS tracking services
- Providing user interface displays.
- Generally controlling electronics
Conclusion
Arduino is the complete package when it comes to electronic interfaces. It has both hardware and software components that help a programmer create some unique projects. You will need both the hardware components (board) and software (IDE) to start any project you are thinking of completing thoroughly.